If you are using the Cloudflare Zero Trust or Cloudflare Warp, And you have to switch between your personal and your work Cloudflare account. This article is for setting up a Mac profile for both workspaces.
To do that Cloudflare provide 2 options for macOS,
Option one is using the MDM file that supports multiple OS, the MDM file supports multiple MDM management tools that allow for network installation such as Jamf, Intune, MicroMDM, etc.
Option two is using the .mobileconfig file for the macOS or iOS only. The file will be used to install profiles for your Apple devices. The config is similar to the MDM you can translate to the MDM file for the other OS.
To use the .mobileconfig, follow the steps below.
- Create .mobileconfig file
Create .mobileconfig file following the example below and replace the config below with your organization name.
You can also change the display name for more understanding.
Use uuidgen to generate UUID, then replace the PayloadUUID field for the unique profile.
<?xml version="1.0" encoding="UTF-8"?>
<!DOCTYPE plist PUBLIC "-//Apple//DTD PLIST 1.0//EN" "http://www.apple.com/DTDs/PropertyList-1.0.dtd">
<plist version="1.0">
  <dict>
    <key>PayloadContent</key>
    <array>
      <dict>
        <key>PayloadDisplayName</key>
        <string>Warp Configuration</string>
        <key>PayloadIdentifier</key>
        <string>com.cloudflare.warp.CB8B22D4-50E1-48E8-8874-A7594627013A</string>
        <key>PayloadOrganization</key>
        <string>Cloudflare Ltd.</string>
        <key>PayloadType</key>
        <string>com.cloudflare.warp</string>
        <key>PayloadUUID</key>
        <string>CB8B22D4-50E1-48E8-8874-A7594627013A</string>
        <key>PayloadVersion</key>
        <integer>1</integer>
        <key>configs</key>
        <array>
          <dict>
            <key>organization</key>
            <string>replace_with_your_personal_organization_name</string>
            <key>display_name</key>
            <string>Personal</string>
          </dict>
          <dict>
            <key>organization</key>
            <string>replace_with_your_work_organization_name</string>
            <key>display_name</key>
            <string>Work</string>
          </dict>
        </array>
      </dict>
    </array>
    <key>PayloadDisplayName</key>
    <string>Cloudflare WARP</string>
    <key>PayloadIdentifier</key>
    <string>cloudflare_warp</string>
    <key>PayloadOrganization</key>
    <string>Cloudflare, Ltd.</string>
    <key>PayloadRemovalDisallowed</key>
    <false />
    <key>PayloadScope</key>
    <string>System</string>
    <key>PayloadType</key>
    <string>Configuration</string>
    <key>PayloadUUID</key>
    <string>209EEB02-AE20-4188-B6A2-CFC310C2243B</string>
    <key>PayloadVersion</key>
    <integer>1</integer>
  </dict>
</plist>
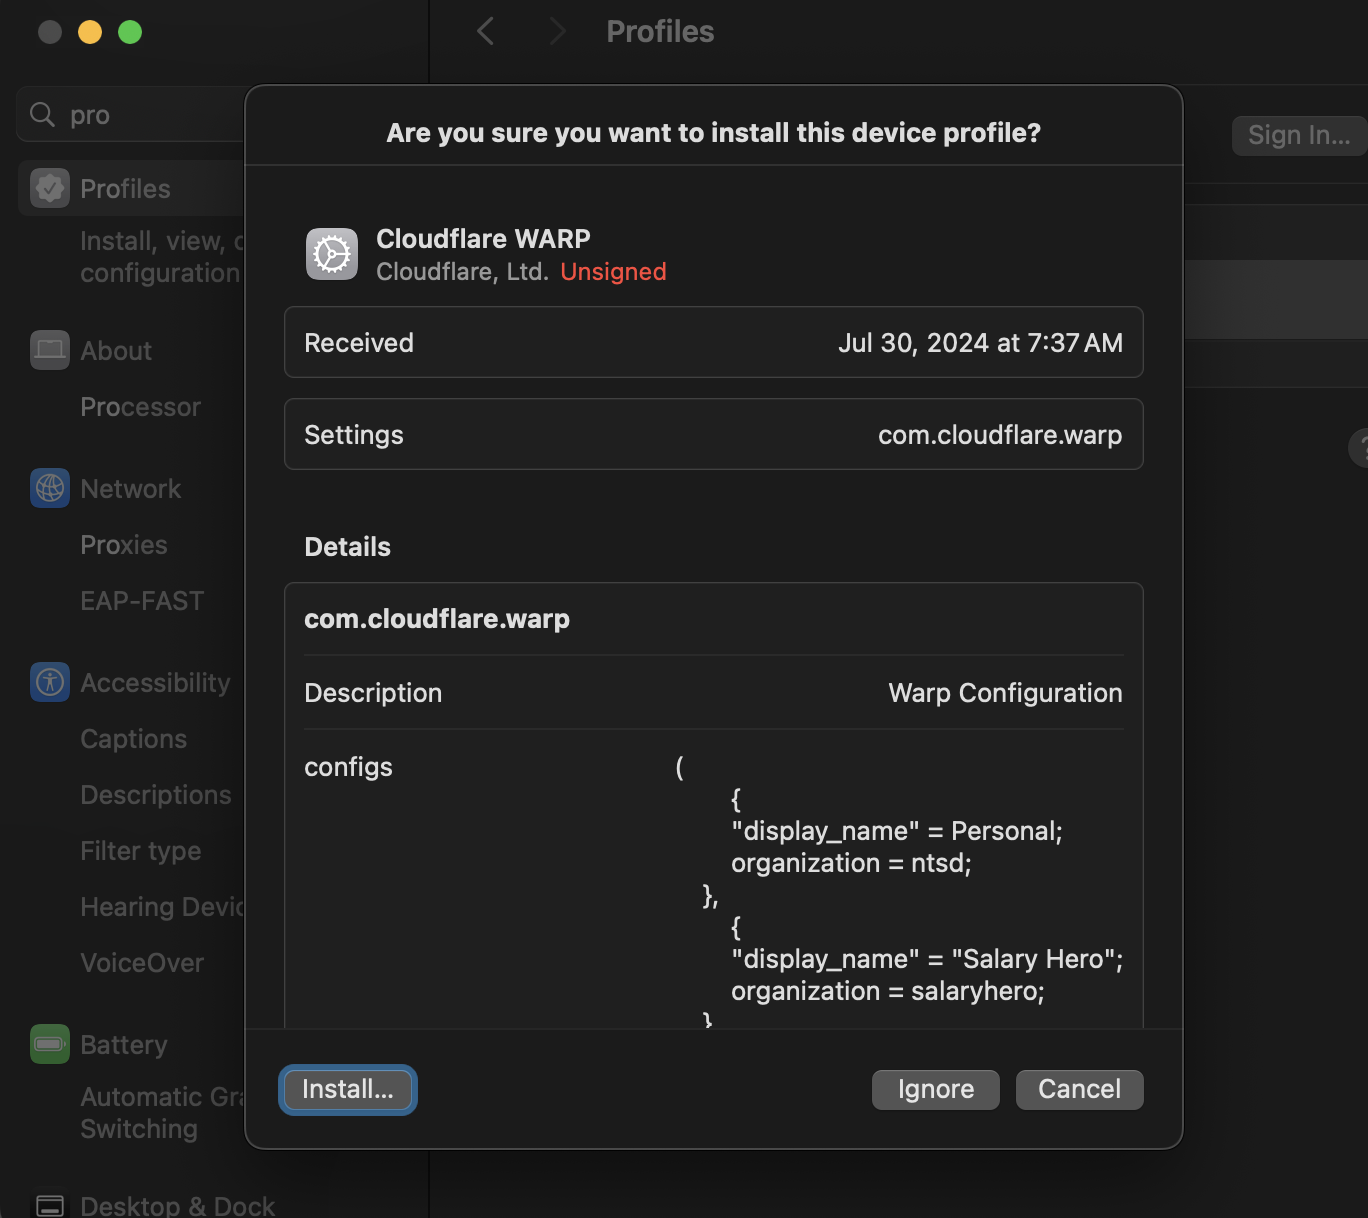
- Double click to install the profile
or you can go to preferences -> Privacy & Security -> profiles then add your mobileconfog.
- After the profile is installed, you might need to restart the Cloudflare Warp client
or you can just restart your machine.

Now you can switch between two workspaces.
Follow this link for more information https://developers.cloudflare.com/cloudflare-one/connections/connect-devices/warp/deployment/mdm-deployment/switch-organizations/